XPS for balconies, loggias and the plinth
The plinth and the balcony are two places where stone wool must not go and EPS is too weak. Extruded polystyrene XPS works here, and it has rules of its own.
The plinth: XPS only
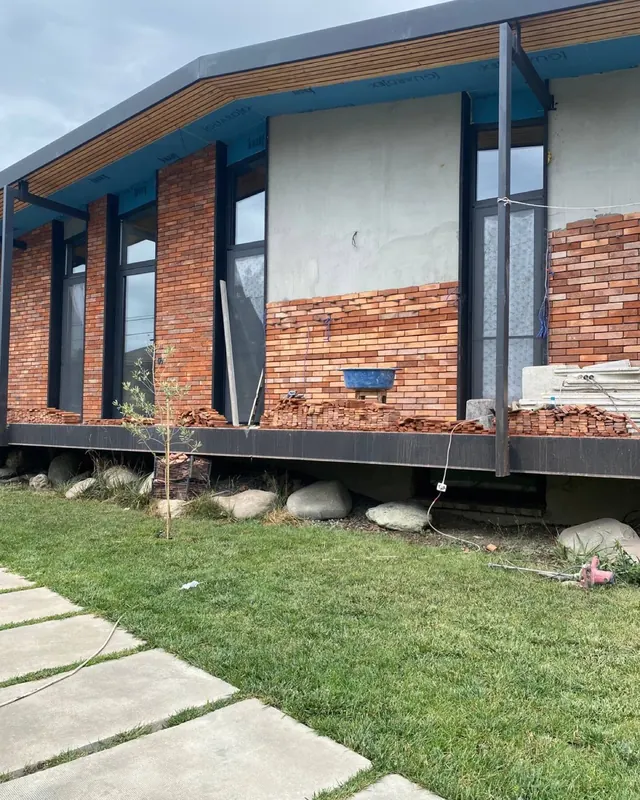
The plinth takes splashes, snow and ground water. Wool soaks up water here and breaks the reinforcing layer; EPS crumbles under impact. XPS barely absorbs water and resists compression. Two zones are insulated: above ground — in Tbilisi usually 0.6 m — and below ground, another 0.6 m over the waterproofing. We usually fit 50 mm. If the wall calculation calls for 70–100 mm there are two ways: our boards in two layers with staggered joints (50 + 30 or 50 + 50), or a single 70–100 mm board bought separately — our range has XPS 30, 40 and 50 mm.
Fixing above and below ground
Above ground: adhesive — cement on the roughened side or foam adhesive in 4–5 strips; after 2 hours on foam or a day on cement, 5–6 dowels per m², from 6 in the edge zone. The IZL-T 8L×110 disc dowel fits (50 mm XPS + 10 mm adhesive + 50 mm embedment in concrete), or IZO 10×120 with a plastic nail — allowed on XPS. Remove or scratch the smooth skin on the board, otherwise the adhesive will not hold. Below ground no dowels are drilled: they pierce the waterproofing. The board is set on bitumen mastic in spots or on foam, with a drainage membrane and backfill on top.
Double reinforcement on the plinth
The base coat on the plinth takes knocks and snow, so the mesh goes in two layers: two alkali-resistant 160 g/m² meshes wet-on-wet — that is how we do it, and the facade system manuals allow it — or one 320 g/m² armour mesh butt-jointed, bought separately. Under clinker, porcelain tile or stone on the plinth, add another layer of mesh on dowels — at least 2 per m².
Example: a 10×10 m house
Perimeter 40 m, 0.6 m above ground and 0.6 m below — 48 m² of XPS 50 mm. With a 5 % reserve that is 50.4 m², a pack is 5.76 m² — 9 packs. Dowels only on the 24 m² above ground: 144 pieces, one box. 160 mesh in two layers on 24 m² with overlaps — 56 m², two 50 m² rolls.
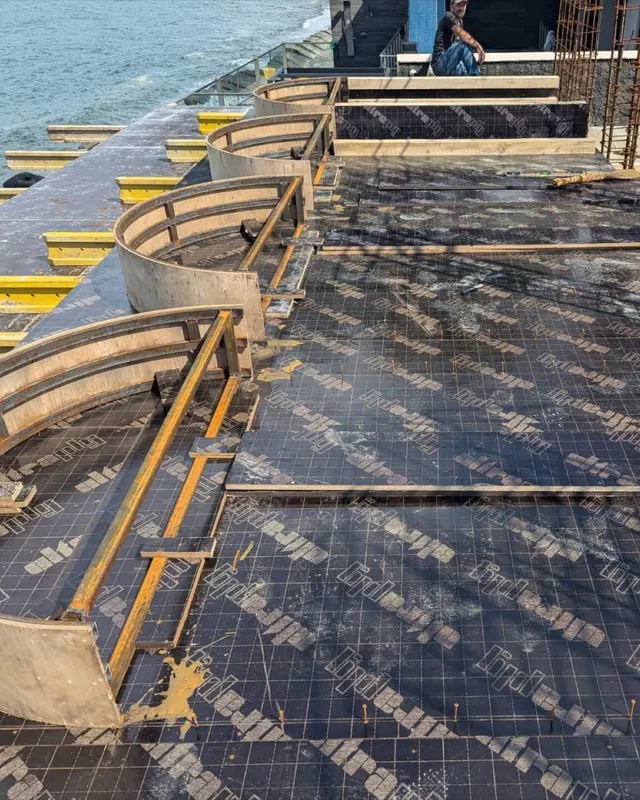
Loggia and balcony: the load first
A balcony slab is designed for 2 kPa of live load. A 50 mm wet screed with tiles adds 1.2–1.4 kPa of permanent load — on the cantilever slab of an old house that must not be done without an engineer's check. The safe option is a dry screed: two layers of gypsum-fibre board, cement-bonded board or plywood with staggered joints, 25–30 kg/m².
The loggia build-up
- Floor: level the base, XPS 30–50 mm laid dry, vapour film turned up the walls with taped joints, dry screed, finish.
- Walls and ceiling: XPS 50 mm on foam adhesive; a day later battens on SM-L 8×140 nail plugs (XPS 50 + batten 50 + embedment 40); a second layer of XPS 30–40 mm between the battens with staggered joints; vapour film with taped joints; lining.
- Ventilation is mandatory: without it an insulated loggia goes damp over one winter.
A loggia with a 10 m² floor and 30 m² of walls and ceiling takes 42 m² of XPS 50 mm — 8 packs — and about 90 nail plugs for the battens. Foam adhesive, vapour film and gypsum-fibre board come from any builders' merchant; from us — the XPS and fixings, and the calculator counts their quantities from the area.